Valentine’s Day in my house always means one thing – the smell of red velvet cupcakes baking in the oven. I remember the first time I tried making them years ago, convinced they’d be too fancy for a home baker like me. Turns out, with the right recipe (and a whole lot of red food coloring), anyone can create these gorgeous, velvety treats that look straight from a bakery case.
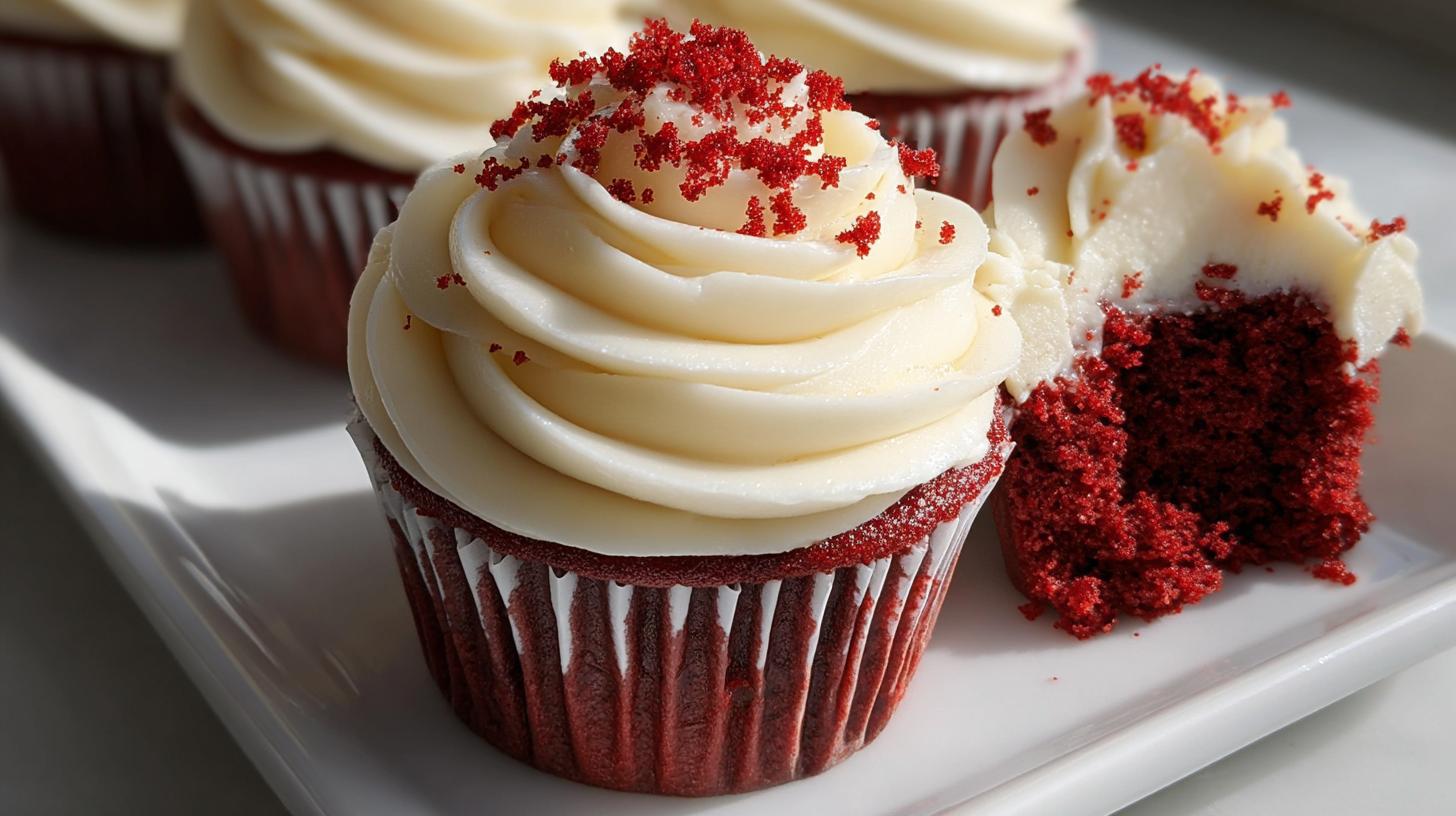
The magic happens when that first bite hits your tongue – the moist crumb practically melts away, letting the subtle cocoa flavor shine through before the tangy cream cheese frosting takes over. It’s that perfect balance of flavors and textures that makes red velvet cupcakes so irresistible. My secret? Buttermilk for tenderness and just enough vinegar to make the color pop without leaving any sour taste behind.
These aren’t just for Valentine’s Day though. I’ve baked them for birthday parties, holiday gatherings, and even just because Tuesdays deserve pretty food too. The bright red color makes people smile before they even take that first bite, and trust me – one cupcake never seems to be enough!
Why You’ll Love These Red Velvet Cupcakes
Oh, where do I even start? These cupcakes are my go-to for a reason. First, that texture – unbelievably moist and tender, just like your favorite bakery’s version but fresher. Second, they look stunning with that vibrant red color peeking through swirls of fluffy cream cheese frosting. Perfect for Valentine’s Day, birthdays, or when you just need a little edible happiness.
The best part? They’re shockingly easy to make. No fancy techniques, no weird ingredients – just straightforward baking magic that’ll have everyone thinking you spent hours in the kitchen. And wait until you see people’s faces when they take that first bite – pure cupcake bliss!
Ingredients for Red Velvet Cupcakes
Okay, let’s gather our goodies! I like to divide everything into two groups – the cupcake team and the frosting crew. Trust me, measuring everything out first makes the whole process so much smoother (and prevents those “oops, forgot the sugar” moments).
For the cupcakes:
- 2 ½ cups all-purpose flour (scoop and level it, don’t pack!)
- 1 ½ cups granulated sugar
- 1 teaspoon baking soda (make sure it’s fresh!)
- 1 teaspoon fine salt
- 1 teaspoon unsweetened cocoa powder (sift it if it’s lumpy)
- 1 ½ cups vegetable oil (yes, that much – it’s the secret to super moist cupcakes)
- 1 cup buttermilk, shaken well (room temperature is ideal)
- 2 large eggs (set them out 30 minutes before baking)
- 2 tablespoons red food coloring (I use liquid, but gel works too)
- 1 teaspoon pure vanilla extract
- 1 teaspoon white vinegar (yes, really!)
For the cream cheese frosting:
- 16 oz full-fat cream cheese (softened, but still cool – not melty!)
- ½ cup unsalted butter (softened to room temp)
- 4 cups powdered sugar (sift if it’s clumpy)
- 1 teaspoon vanilla extract
Ingredient Notes & Substitutions
Now let’s talk about the VIPs of this recipe. The buttermilk is non-negotiable for that signature tender crumb, but if you’re in a pinch, make a quick substitute by mixing 1 cup milk with 1 tablespoon lemon juice or vinegar – let it sit for 5 minutes until it thickens slightly.
About that red food coloring – the liquid kind works, but gel coloring gives a more vibrant red with less quantity (start with 1 tsp gel and adjust). For a natural approach, beet powder works (though the color will be more muted) – use about 2-3 tablespoons.
And the vinegar? Don’t skip it! That teaspoon works with the baking soda to give the cupcakes their perfect rise and helps enhance the red color. I promise you won’t taste it – it’s just kitchen magic doing its thing.
For the frosting, full-fat cream cheese is the way to go. The low-fat versions make the frosting too runny (learned that the hard way!). If you must substitute, mascarpone can work in a pinch, but the tang won’t be quite the same.
How to Make Red Velvet Cupcakes
Alright, let’s dive into the fun part – bringing these gorgeous red velvet cupcakes to life! I promise it’s easier than you think. Just follow these steps carefully (especially that vinegar part – people always look at me funny when I add it, but trust me, it works).
Preparing the Cupcake Batter
First things first – preheat that oven to 350°F (175°C) and line your muffin pan with those cute cupcake liners. Now, grab two bowls – one for dry ingredients, one for wet. This separation is key!
In your large bowl, whisk together the flour, sugar, baking soda, salt, and cocoa powder. Make sure those dry ingredients are well combined – no cocoa powder lumps allowed! In another bowl, whisk together the oil, buttermilk, eggs, food coloring, vanilla, and that magical teaspoon of vinegar until smooth.
Here’s where you need to be careful – pour the wet ingredients into the dry and mix until just combined. I mean it – stop mixing when you no longer see flour streaks. Overmixing is the enemy of tender cupcakes! The batter will be thick but pourable, with that gorgeous deep red color that makes red velvet so special.
Baking and Cooling
Now, fill those liners about ⅔ full – I use an ice cream scoop for perfect portions. Any fuller and you’ll have cupcake volcanoes! Pop them in the oven and set your timer for 18 minutes.
The magic number is usually between 18-22 minutes. You’ll know they’re done when a toothpick comes out with just a few moist crumbs (not wet batter). The tops should spring back lightly when touched. And oh, that smell filling your kitchen? Pure happiness.
Here’s the hard part – let them cool in the pan for 5 minutes, then transfer to a wire rack. I know it’s tempting to frost them warm, but patience pays off! Cooling completely prevents the frosting from melting into a sad puddle. About 1 hour should do it.
Making Cream Cheese Frosting
While those beauties cool, let’s whip up that dreamy cream cheese frosting. First rule – your cream cheese and butter must be properly softened (leave out for 1-2 hours). Cold ingredients make lumpy frosting, and melted ones make soup – we want that perfect in-between!
Beat the cream cheese and butter together until completely smooth – about 2 minutes. Now add the vanilla, then slowly add the powdered sugar about 1 cup at a time, beating well after each addition. Keep going until it’s fluffy and holds its shape – about 3-4 minutes total.
Pro tip: If your frosting seems too soft, pop it in the fridge for 15 minutes before piping. Too thick? Add milk 1 teaspoon at a time until perfect. Now grab your piping bag (or a zip-top bag with the corner snipped off) and get ready to make these red velvet cupcakes look as good as they taste!
Tips for Perfect Red Velvet Cupcakes
After making hundreds (okay, maybe thousands) of these cupcakes over the years, I’ve picked up some tricks that make all the difference. First – that gorgeous red color? Gel food coloring beats liquid hands down. You’ll need way less (start with 1 teaspoon) and get a richer, more vibrant red without thinning out your batter.
Here’s my golden rule for filling liners – ⅔ full, no more, no less! I use a standard ice cream scoop (the kind with the lever) for perfect portioning every time. Underfill and you’ll get sad, flat cupcakes. Overfill and you’ll have batter overflowing like mini volcanoes (trust me, I’ve cleaned enough ovens to know!).
For bakery-worthy presentation, pipe your frosting instead of spreading it. A simple star tip (I use Wilton 1M) makes those gorgeous swirls that’ll have everyone thinking you bought these at a fancy bakery. Pro tip: chill your frosted cupcakes for 15 minutes before serving – it helps the frosting hold its shape beautifully.
One last secret – if you’re making these for a special occasion, bake them the day before! The flavors actually deepen overnight when stored properly (in an airtight container at room temp). Just wait to frost them until the big day – fresh frosting makes all the difference.
Serving and Storing Red Velvet Cupcakes
Now comes the best part – showing off your gorgeous red velvet creations! I love adding little garnishes to make them extra special. A dusting of leftover cupcake crumbs gives that perfect “bakery” look – just crumble a cupcake top between your fingers and sprinkle away. Fresh raspberries or a light shower of edible glitter makes them perfect for Valentine’s Day.
Here’s my golden rule for storage: unfrosted cupcakes stay fresh at room temperature in an airtight container for 2 days. Once frosted, they need to go in the fridge (cream cheese frosting and all) – but don’t worry, they’ll still taste amazing! Just let them sit at room temperature for 15 minutes before serving to take the chill off.
For longer storage, freeze the unfrosted cupcakes for up to 3 months – wrap each one individually in plastic wrap, then seal in a freezer bag. Thaw overnight in the fridge when you’re ready to frost and serve. The frosting itself can be made ahead too – store it in the fridge for up to 5 days, then rewhip it for 30 seconds before piping.
One last pro tip: if you’re transporting these beauties, chill them first so the frosting firms up, then pack them in a single layer in a sturdy container. A little non-slip shelf liner between layers works wonders to prevent sliding during travel. Just try not to eat them all before you get there!
Red Velvet Cupcakes FAQs
I get asked the same questions every time I make these cupcakes, so let’s tackle them head-on! First up – “Can I freeze red velvet cupcakes?” Absolutely! Just freeze them unfrosted. Wrap each cooled cupcake tightly in plastic wrap, then pop them in a freezer bag. They’ll keep beautifully for up to 3 months. Thaw overnight in the fridge when you’re ready to frost and serve. The texture stays perfect – I do this all the time for last-minute dessert emergencies!
Next question I hear a lot: “Why the vinegar?” It seems weird, I know! But that teaspoon of white vinegar works with the baking soda to give these cupcakes their perfect rise. It also helps enhance that gorgeous red color without leaving any sour taste. Kitchen chemistry at its finest! I promise you won’t taste it – the buttermilk and sugar balance everything out perfectly.
“Can I use cake flour instead of all-purpose?” You sure can! Cake flour will give you an even lighter, more delicate crumb. Just substitute it 1:1 for the all-purpose flour. If you want to get really fancy, you can make your own cake flour blend: measure 2 ½ cups all-purpose flour, remove 5 tablespoons, and replace it with 5 tablespoons cornstarch. Sift it together three times – voilà, homemade cake flour!
Another common one: “My food coloring stains everything – help!” Oh boy, do I have red-stained kitchen towels to prove this happens! Gel food coloring is less messy than liquid, but if you do get stains, make a paste with baking soda and dish soap. Let it sit on the stain for 10 minutes before washing. For your hands, lemon juice or toothpaste works wonders to remove the dye.
Last but not least: “Can I make these without food coloring?” Of course! The cupcakes will taste exactly the same, just with a more subtle reddish-brown hue. If you want natural color, try adding 2-3 tablespoons beet powder to the dry ingredients. The color won’t be as vibrant, but you’ll still get that classic red velvet flavor everyone loves.
Nutritional Information
Okay, let’s talk numbers – but remember, these are just estimates! Your actual nutrition facts might vary depending on the exact brands you use and how generously you frost those cupcakes (we won’t judge if your swirls are extra tall!).
Per cupcake (with frosting), you’re looking at:
- Calories: 390
- Fat: 22g (6g saturated)
- Carbs: 45g
- Sugar: 35g
- Protein: 4g
- Sodium: 250mg
Now before anyone panics about the numbers – these are special occasion cupcakes, people! That gorgeous cream cheese frosting and tender crumb are worth every delicious bite. And hey, there’s carrots in there (well, technically just a teaspoon of cocoa powder, but let’s pretend).
If you’re watching your sugar intake, you can reduce the powdered sugar in the frosting by 1 cup – the texture will be softer, but still delicious. Or go for mini cupcakes – same amazing taste, just smaller portions!
Share Your Red Velvet Cupcakes
Nothing makes me happier than seeing your beautiful red velvet creations! Did you add a special twist? Maybe some chocolate shavings or heart sprinkles? I want to see them all – the perfectly piped ones, the slightly lopsided ones (those have the most character!), and especially the ones with little fingerprints in the frosting where someone just couldn’t wait to sneak a taste.
Tag me on Instagram when you make these – I’ll be your biggest cheerleader! And if you loved the recipe (or have suggestions to make it even better), leave a rating below. Your notes help other bakers know what to expect, like whether the frosting was sweet enough or if the cupcakes stayed moist for days (they usually do in my house… if they last that long!).
Some of my favorite reader moments? The Valentine’s Day proposal with these cupcakes as the ring bearer, the first birthday smash cake version (so much red everywhere!), and the sweet grandma who told me these reminded her of her childhood bakery. Keep those stories coming – baking is always better when we share the love!
Print
Irresistible Red Velvet Cupcakes with 2 Secret Ingredients
- Total Time: 40 minutes
- Yield: 12 cupcakes 1x
- Diet: Vegetarian
Description
Classic red velvet cupcakes with cream cheese frosting, perfect for Valentine’s Day or holiday baking.
Ingredients
- Cupcakes:
- 2 ½ cups all-purpose flour
- 1 ½ cups granulated sugar
- 1 teaspoon baking soda
- 1 teaspoon salt
- 1 teaspoon cocoa powder
- 1 ½ cups vegetable oil
- 1 cup buttermilk
- 2 large eggs
- 2 tablespoons red food coloring
- 1 teaspoon vanilla extract
- 1 teaspoon white vinegar
- Cream Cheese Frosting:
- 16 oz cream cheese, softened
- ½ cup unsalted butter, softened
- 4 cups powdered sugar
- 1 teaspoon vanilla extract
Instructions
- Preheat oven to 350°F and line a muffin pan with cupcake liners.
- In a large bowl, whisk flour, sugar, baking soda, salt, and cocoa powder.
- Add vegetable oil, buttermilk, eggs, food coloring, vanilla, and vinegar. Mix until smooth.
- Divide batter evenly into cupcake liners, filling about ⅔ full.
- Bake for 18–22 minutes until a toothpick inserted comes out clean. Cool completely.
- Beat cream cheese and butter until smooth.
- Gradually add powdered sugar and vanilla, beating until fluffy.
- Frost cooled cupcakes and garnish with red velvet crumbs if desired.
Notes
- Use room-temperature ingredients for best results.
- Store frosted cupcakes in the refrigerator.
- Prep Time: 20 minutes
- Cook Time: 20 minutes
- Category: Dessert
- Method: Baking
- Cuisine: American
Nutrition
- Serving Size: 1 cupcake
- Calories: 390
- Sugar: 35g
- Sodium: 250mg
- Fat: 22g
- Saturated Fat: 6g
- Unsaturated Fat: 14g
- Trans Fat: 0g
- Carbohydrates: 45g
- Fiber: 1g
- Protein: 4g
- Cholesterol: 50mg
Keywords: red velvet cupcakes, classic red velvet recipe, homemade cupcakes, bakery style cupcakes, Valentine’s Day dessert, holiday baking ideas